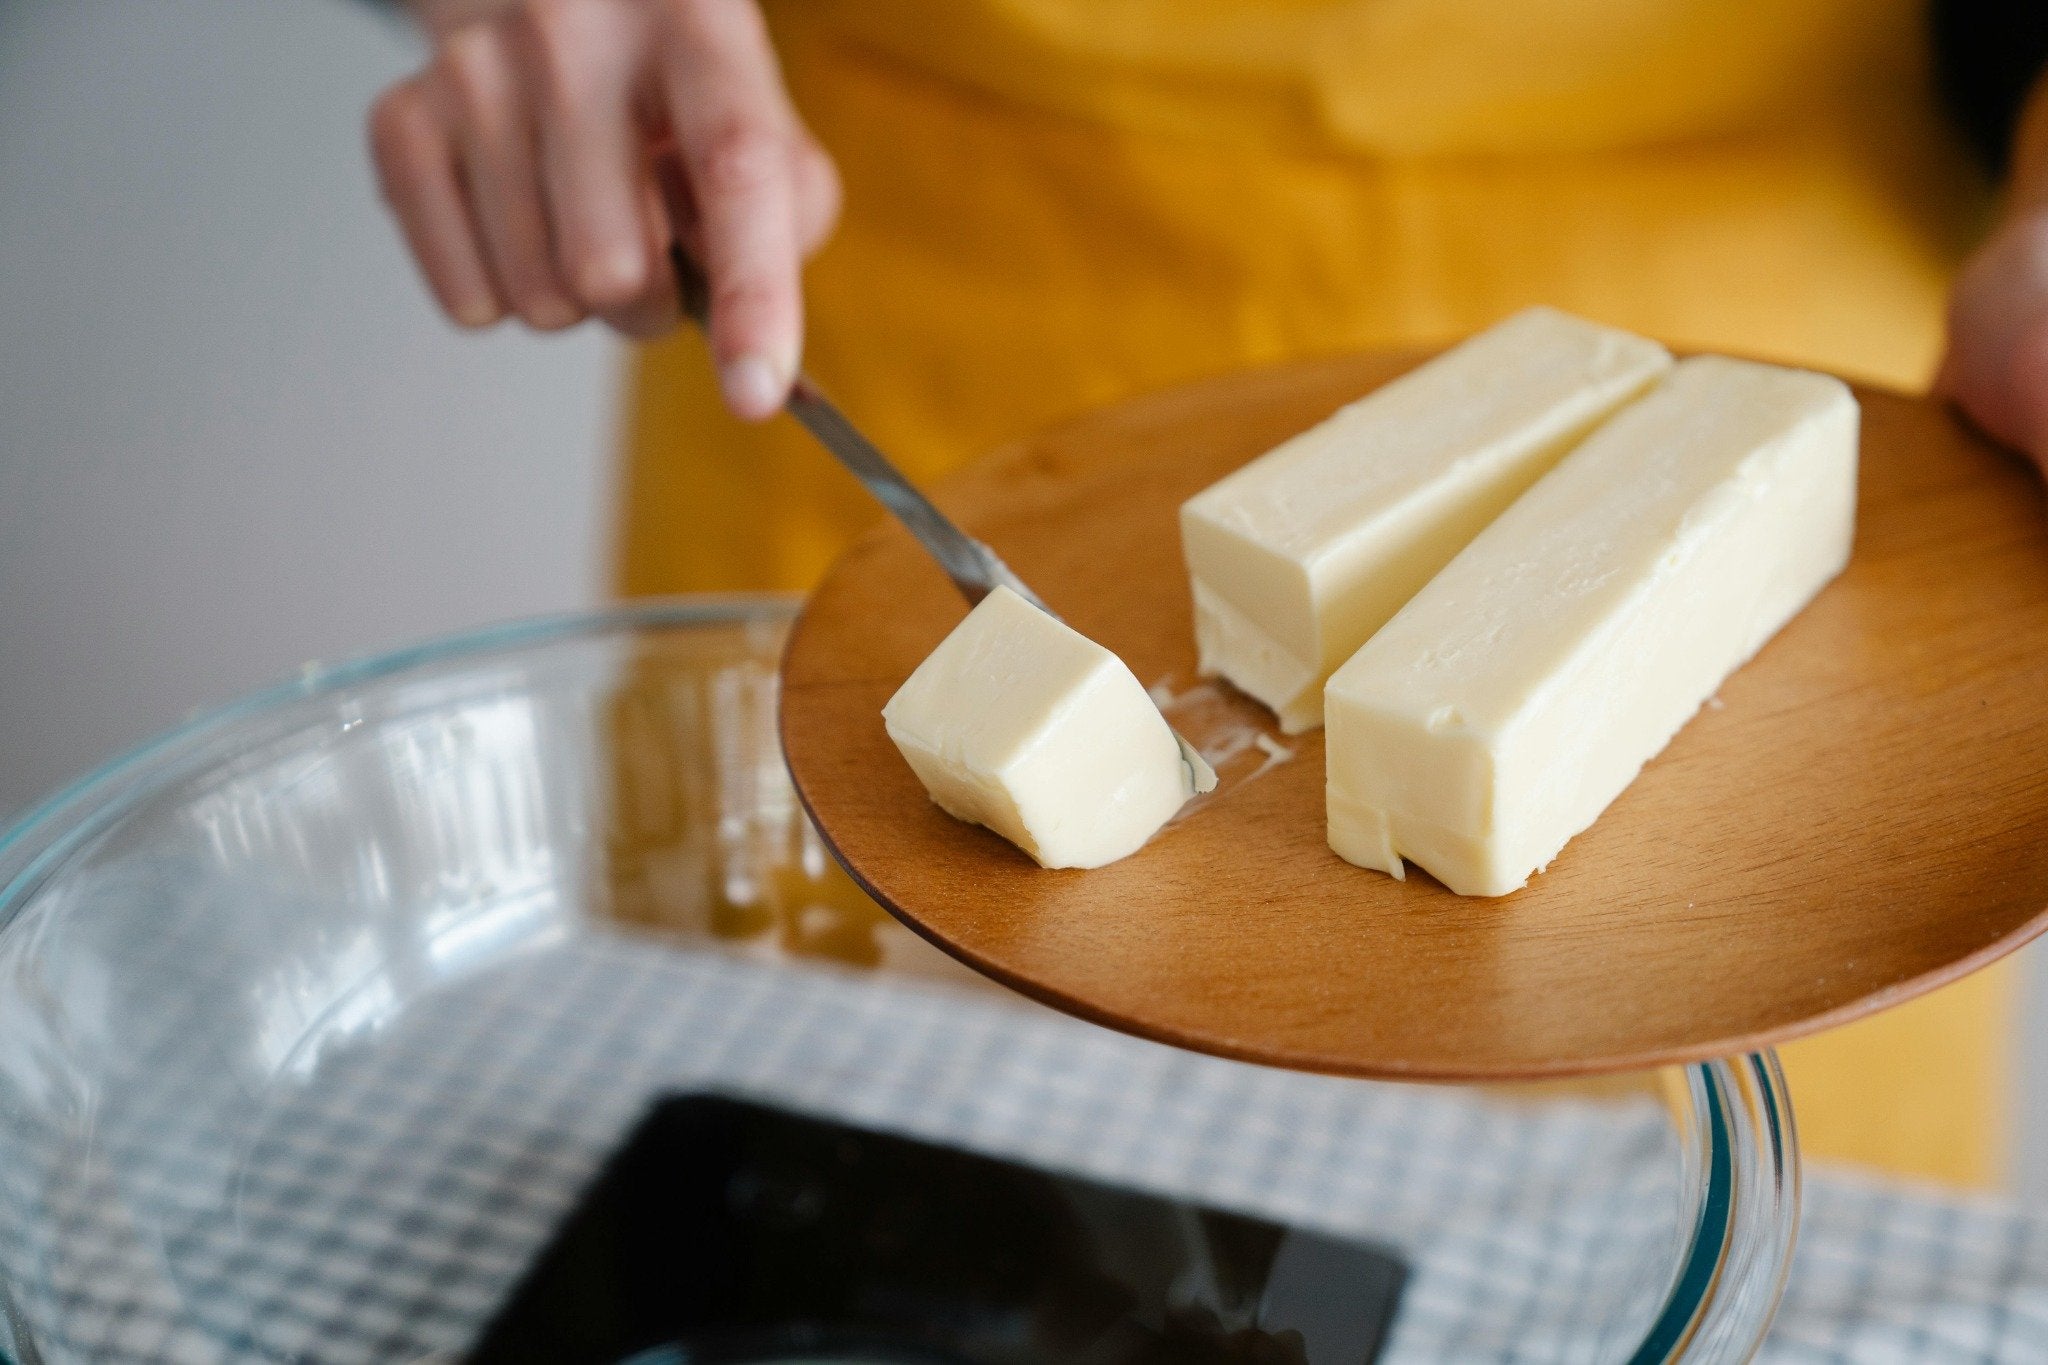
If you caught last week’s Inside Mel’s Brain, I mentioned we’d take a closer look at butter and its more refined counterpart, ghee. Both are kitchen essentials, but ghee has been stealing the spotlight lately—and with its premium price tag, it’s no wonder people are curious about what makes it so special.
At its core, butter is a simple combination of fat, milk content (the white liquid left behind when you melt it), and water. It’s versatile, delicious, and perfect for countless dishes—until you crank up the heat.
Now, don’t get me wrong—burning butter isn’t always a bad thing! There’s actually a purpose for browned or even burnt butter. For instance, the perfect pasta sauce, beurre noisette (which translates to "brown butter"), relies on those browned milk solids for its nutty, aromatic flavour. And if you’ve ever made our cookie dry mix, you’ll know one of my golden rules: burn the butter! Why? By browning it, I can replicate that caramelized flavour you’d normally get from something like brown sugar—a no-go in keto cooking—and then I adjust the sweetness to balance the subtle bitterness of the burnt butter.
That said, if you’re not actively aiming for a browned butter effect, those milk solids can become a problem, burning quickly and leaving you with scorched fat and a smoky kitchen.
This is where ghee shines. By removing the milk solids and water from the butter, you’re left with a clear, golden fat that boasts a much higher smoke point and a rich, nutty flavour. It’s a game-changer for high-heat cooking and has been a staple in traditional cuisines for centuries.
The best part? Making your own butter and ghee at home is far easier than you might think. Butter is as simple as whipping cream, and ghee is just a matter of taking it one step further. Let’s break it down so you can skip the store-bought versions and enjoy the satisfaction of making these pantry essentials yourself.
How to Make Butter
Making butter is simpler than you think! Just grab some cream, the higher the fat content, the more butter you’re gonna yield) and a little elbow grease or a stand mixer.
What You Need:
· Heavy cream (preferably grass-fed for better flavour and nutrients)
· Salt (optional, for salted butter)
· A food processor, stand mixer, or even a jar if you’re feeling rustic
Steps to Butter Bliss:
1. Whip It Good: Pour heavy cream into your mixer or food processor and start whipping. First, you’ll get whipped cream, then the cream will separate into butterfat (solid) and buttermilk (liquid). Don’t stop until you see that separation—this is butter magic happening.
2. Strain the Buttermilk: Use a fine sieve or cheesecloth to strain the butterfat from the liquid. Save that buttermilk! It’s great for pancakes, biscuits, or any recipe calling for tangy liquid gold.
3. Wash Your Butter: Rinse the butter under cold water, kneading it gently to remove any lingering buttermilk. This step helps your butter last longer.
4. Season (Optional): If you want salted butter, mix in a pinch of salt to taste.
5. Store It Right: Shape the butter into a block or pack it into a jar. Keep it in the fridge, or freeze for longer storage.
How to Make Ghee
Ghee takes butter to the next level by removing water and milk solids, leaving you with a clear, golden fat that’s shelf-stable and perfect for high-heat cooking.
What You Need:
· Unsalted butter (maybe even the one you just made!)
· A heavy-bottomed saucepan
· Cheesecloth or a fine mesh strainer
Steps to Golden Perfection:
1. Melt It Down: In a saucepan over low-medium heat, melt the butter. Let it simmer gently, and you’ll notice it separating into three layers: foam on top, clarified liquid in the middle, and milk solids sinking to the bottom.
2. Skim and Watch: Skim off the foam as it forms, but keep an eye on the milk solids. Once they turn golden brown, your ghee is ready. Be careful not to let them burn—it can go from nutty to bitter quickly.
3. Strain It: Carefully pour the ghee through a cheesecloth or fine strainer to remove the browned milk solids.
4. Store: Let it cool before transferring it to a clean, airtight jar. Ghee doesn’t need refrigeration and can last for months in a cool, dry place.
Why Make It Yourself?
· Flavour Control: Homemade butter and ghee taste fresher and richer than store-bought.
· No Additives: You know exactly what’s in your food—no hidden preservatives.
· Cost-Effective: Ghee is pricey in stores, but making it yourself is budget-friendly.
· Satisfaction: There’s something incredibly rewarding about crafting your own kitchen staples.
Now that you’re armed with the knowledge, it’s time to roll up your sleeves and get churning (or simmering). Trust me—once you try homemade butter and ghee, there’s no going back. Let me know how your creations turn out!


Share:
Lemon Meringue Pie
Inside Mel's Brain: Cream Recipes